Tip: How to change the cut distance of a “rot fix” for an ejector in Expert Moldbase Extension
Another answer to a customers question:
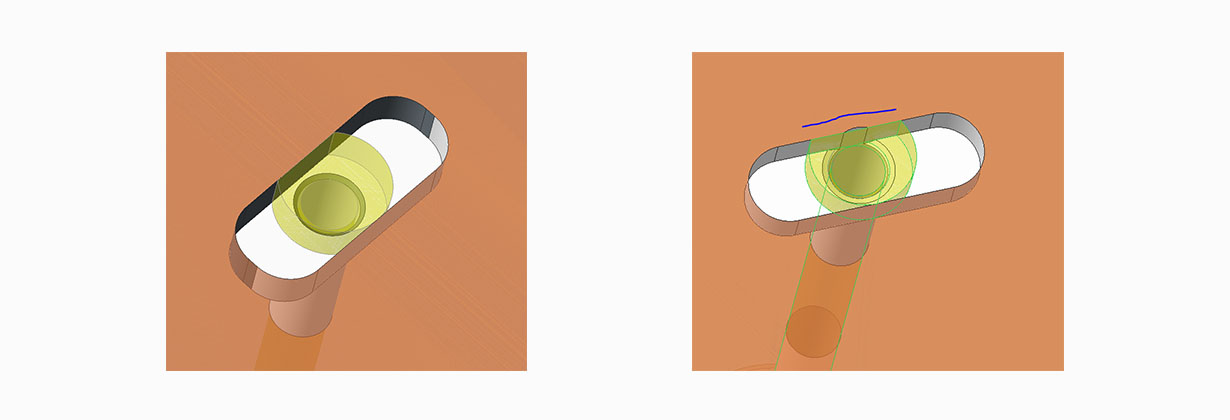
When I place ejectors using EMX, the cut which is generated is always very close or coincident with the ejector shaft. See pic:
This makes it difficult to add a champfer in the hole.
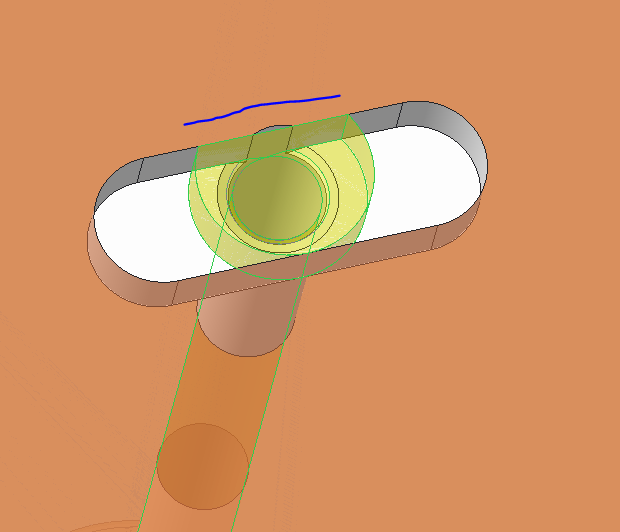
I would like the distance from center of ejector to rotfix surface to be bigger. See below pic:
Where can I find the parameter file, from which I can increase this distance?
Here is my answer:
If you have a look to the Component Dialogs bottom area you will find the dimension OFF which is responsible for your described issue.
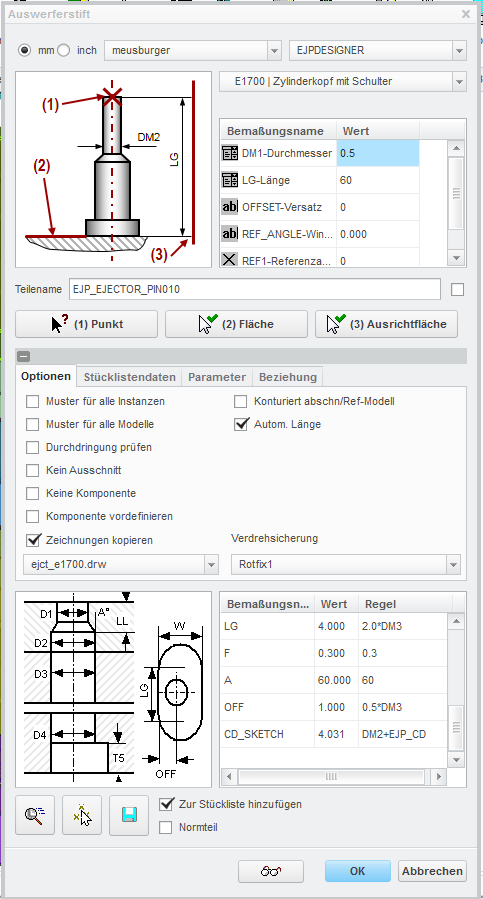
In the last column you will also find a RULE which predefines the OFF value depending on the DM3 Diameter: In this case 0.5*DM3.
This rule is set up in the udf_data.txt file, which can be found here: <emx_intall>\components\mm\ejector\udf
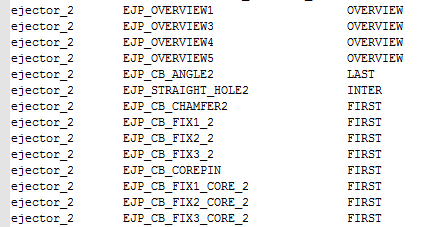
In my example I assemble an ejector pin which uses the template: “ejector_2.prt”
In the udf_data.txt all udfs used for the template type “ejector_2.prt” defined in the Section EMX_UDFS (See picture below)
You will find the udf EJP_CB_FIX1_2 which ist responsible for the cut out of type Rotfix1
The rules for this UDF are defined in the udf_data.txt a bit further bleow in the the section EMX_UDF_VALUES

You can now either change this rules to maybe to 0.6*DM3 or what ever you like.
Be aware that if you install a new blank EMX Version all these cahnges will be reset to default.
You can use alternativly set the Windows enivroment variable EMX_USER_CONFIG_PATH to point to a custom EMX configuration path there you can place the configuration and the components folder. I recommend to track your changes to the config otherwise future users wont now what was changed and this can cause unexpected behavior.
Regards
Thomas
This could be interesting for you
-

New Creo Version available
-

Review: PTC/USER 2026
-

Fachkonferenz Digitalisierung 2026 in Stuttgart
-

Join us at PTC/USER Global Summit 2026
-

Review: User Meeting – Toolmaking in Creo 2025
-
Future of B&W has begun
-

No security alert of B&W License Server 11.19.1.0 regarding lmadmin
-
Potential issues in running B&W Software products in Creo 9.0 and 10.0
-

Meet us at the PTC/USER Global Summit 2024 in Orlando!
-
User Event Tooling 2023
-
Successful Windchill implementation project
-
SMARTElectrode 19.4 for Creo Parametric 13 now available
-
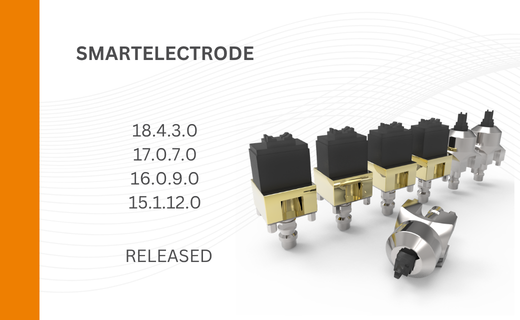
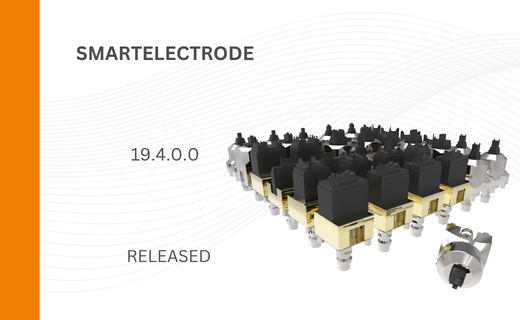
New SMARTElectrode Versions released
-
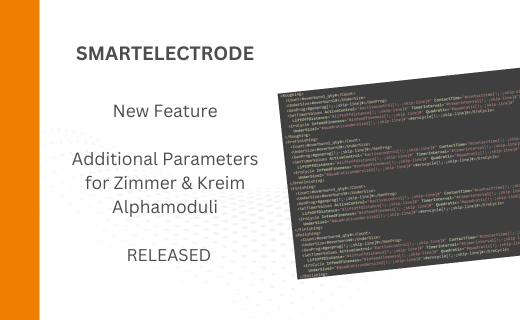
Technology Parameters for Interface to Zimmer & Kreim Alphamoduli
-
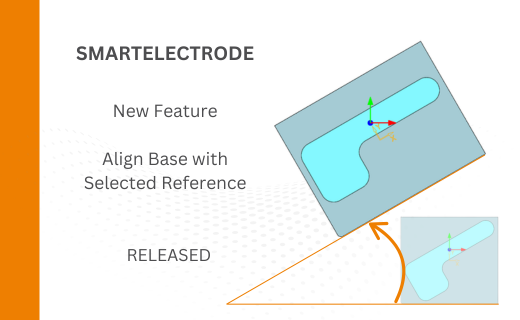
Align Base with Selected Surface
-

New Electrode Assembly with Custom Origin
-
New Version for IFX out now!
-
Additional Washer and Nut for IFX
-

New Logging Options
-
Improved translation of library files in IFX
-
PTC/USER Agenda